

Overview
Labels tag every request for attribution: which team, feature, job, or environment produced the traffic. A request can be labelled two ways, and both can apply at once:- Tagging headers — labels extracted from configured HTTP headers on each request.
- API key labels — labels bound to a managed API key, applied to every request authenticated with it.
API key labels
Assign labels when creating a key in the admin dashboard:API Keys -> Create API Key -> Labels
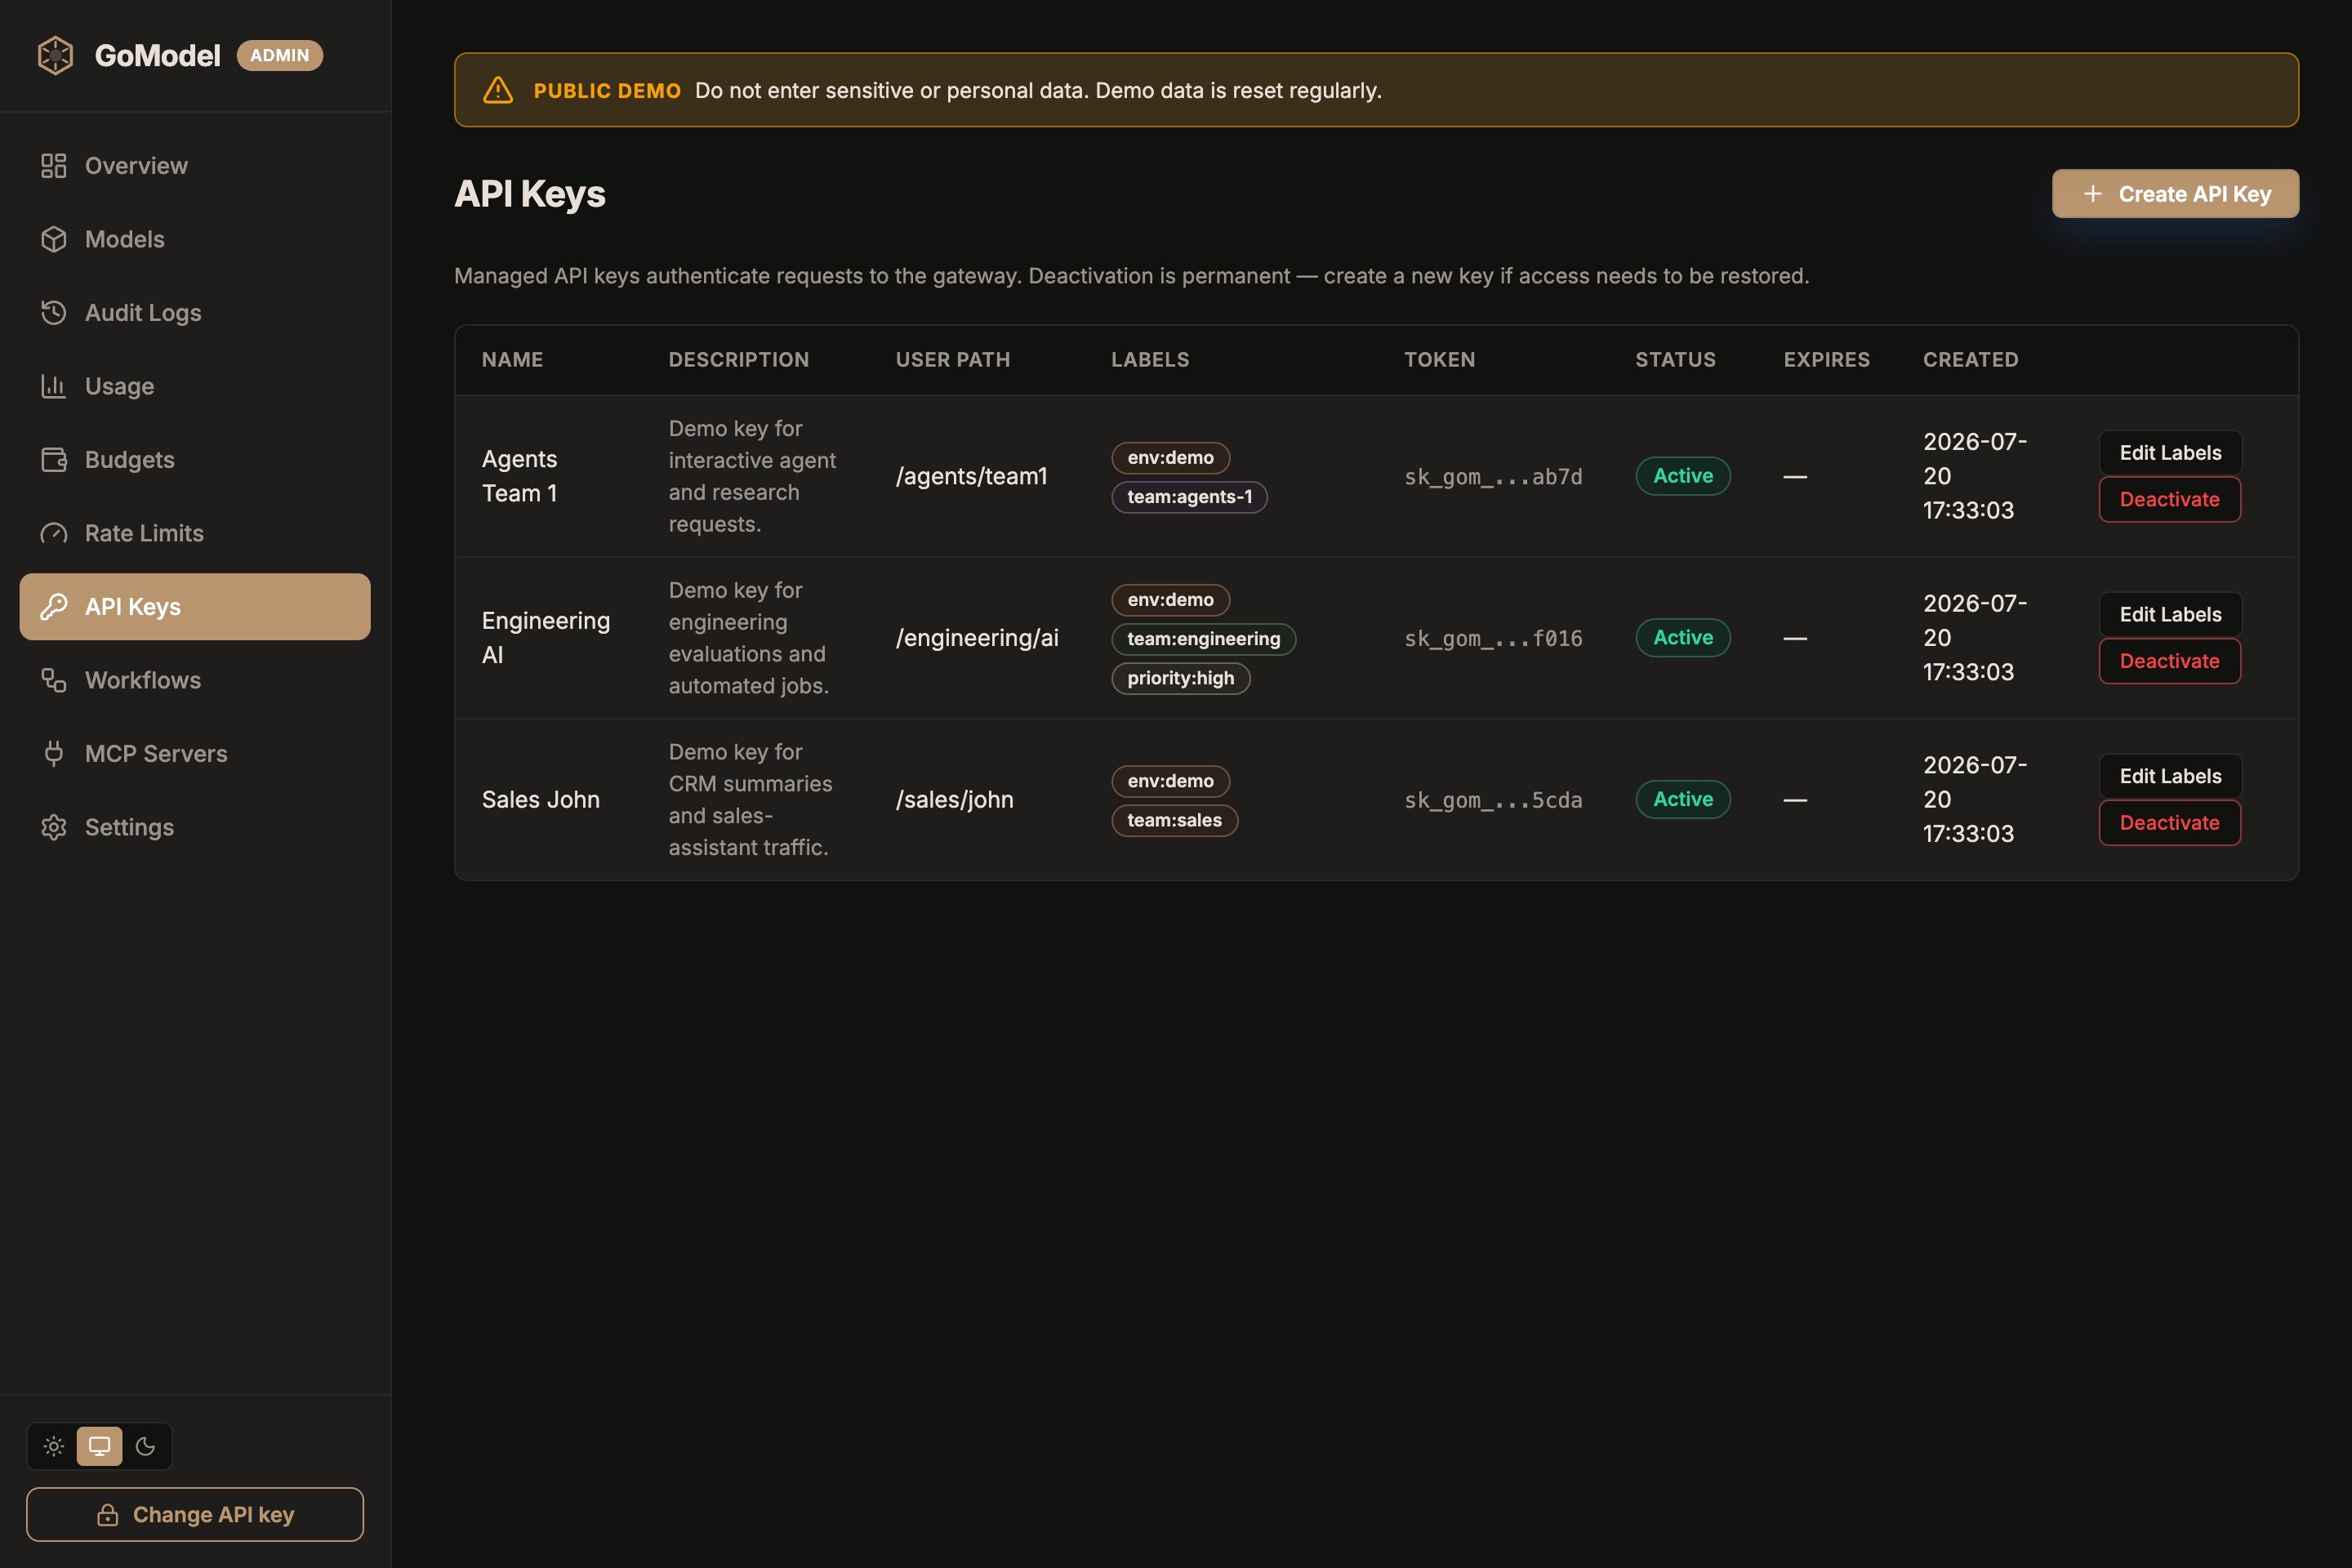
API Keys -> Edit Labels) or via the admin API:
[] to remove all labels. Changes
apply to new requests immediately on the instance that served the update and
within a few seconds on other replicas sharing the database.
Tagging headers
Tagging rules name headers whose values carry labels. Manage them in the dashboard (Settings -> Tagging based on headers) or declare them as
infrastructure-as-code:
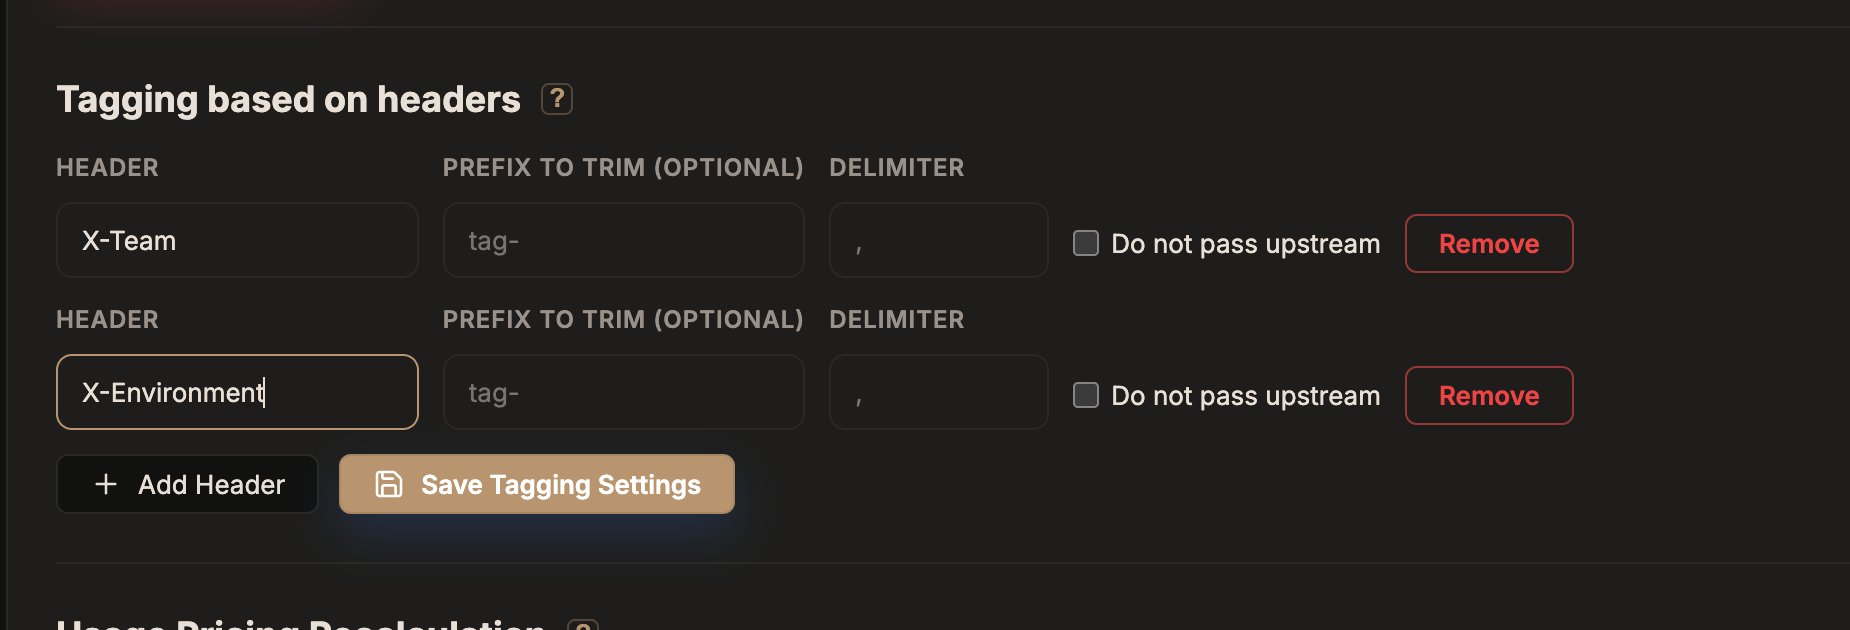
X-Team), optionally set a prefix to trim and a delimiter, then Save
Tagging Settings. Check Do not pass upstream for headers that should be
stripped before the request reaches the provider.
config.yaml
config.yaml or env are read-only in the dashboard.
Credential-bearing headers (Authorization, Cookie, API-key headers) are
rejected as tagging sources.
do_not_pass strips the header before forwarding on passthrough and realtime
routes; translated routes never forward client headers anyway.
LiteLLM tags
Clients written for LiteLLM keep their tags with no configuration. GoModel reads them as labels from:- the
x-litellm-tagsheader (comma-separated, as is atagsstring); - a
tagsfield in the body of/v1/chat/completions,/v1/responses,/v1/messages, and/v1/embeddings; metadata.tagsin those bodies, when it is a list.
tags parameter, and its metadata values must be
strings. Other metadata keys pass through, and a string metadata.tags is
left alone as ordinary OpenAI metadata. Request logs keep the body as the client
sent it.
One request contributes at most 32 distinct tags, counted across the
header and both body fields in that order; the rest are dropped. Tags longer
than 128 characters are dropped, not truncated. Dropped tags are still
removed before the provider.
LiteLLM tags are on by default. Turn them off with:
config.yaml
tags returns its error.
Where labels show up
- Usage dashboard — the usage page shows a by-label breakdown
(
GET /admin/usage/labels). A request with several labels counts once under each of them. - Usage log — label chips per request on the usage page, filterable with
the
labelquery param onGET /admin/usage/log. - Request logs — recorded under
data.labelson each entry (request logging is enabled by default). - API keys page — each key’s labels are listed alongside its user path.
- Budgets — a budget can be scoped to a label, capping the spend of every request carrying it. See Budgets.
Cost per pull request
To see what a pull request’s CI spends on models, send a label naming the PR, such aspr-1234, with every request its jobs make. The x-litellm-tags header
works without configuration while LiteLLM tags are on (the
default); with them off, configure a tagging header and
send that instead. In GitHub Actions, set the label once for the job. Run the
workflow on pull_request: other events, such as push, carry no PR number,
so the label would be just pr-. GitHub does not pass repository secrets to
pull requests from forks, so the job would have no key there: the if runs it
only for branches in the repository.
.github/workflows/ci.yml
- A request with several labels counts once under each of them, so label rows overlap and can add up to more than the total.
- The breakdown keeps the top rows (
limit, at most 50) and folds the rest into Other. With many PRs, filter bylabelto get one PR’s cost rather than reading it from the pivot.